RecPro®
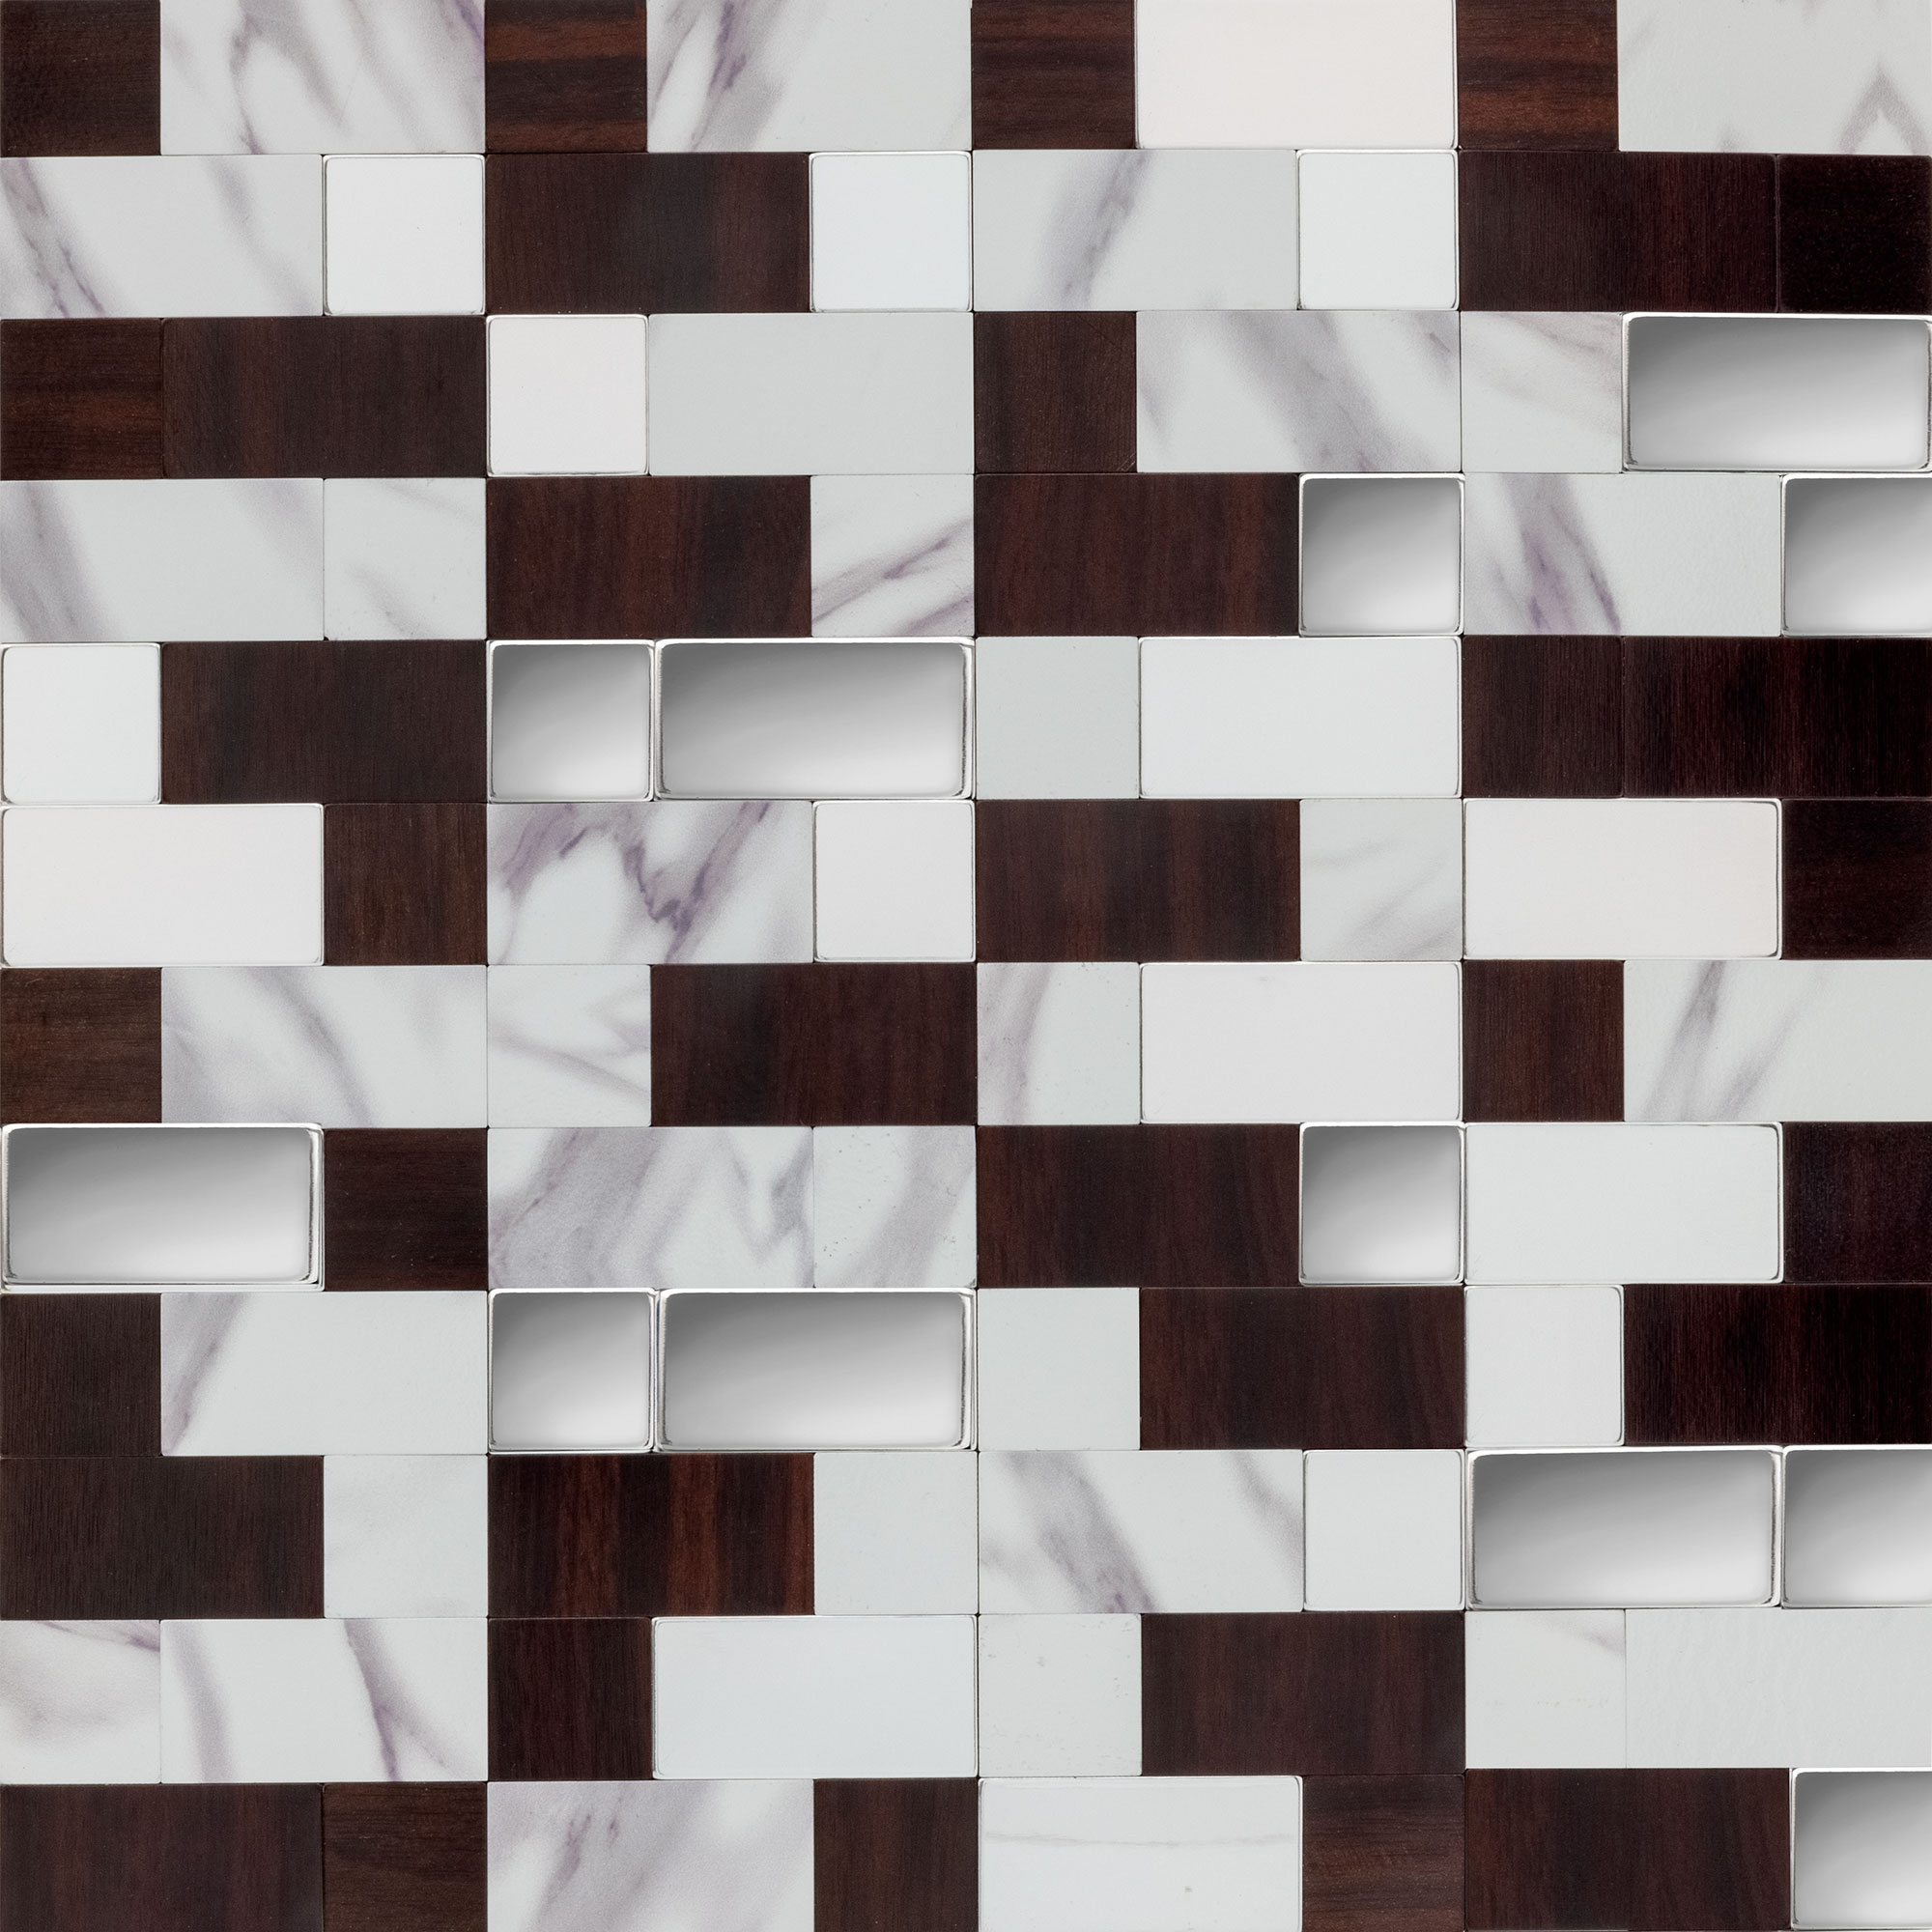
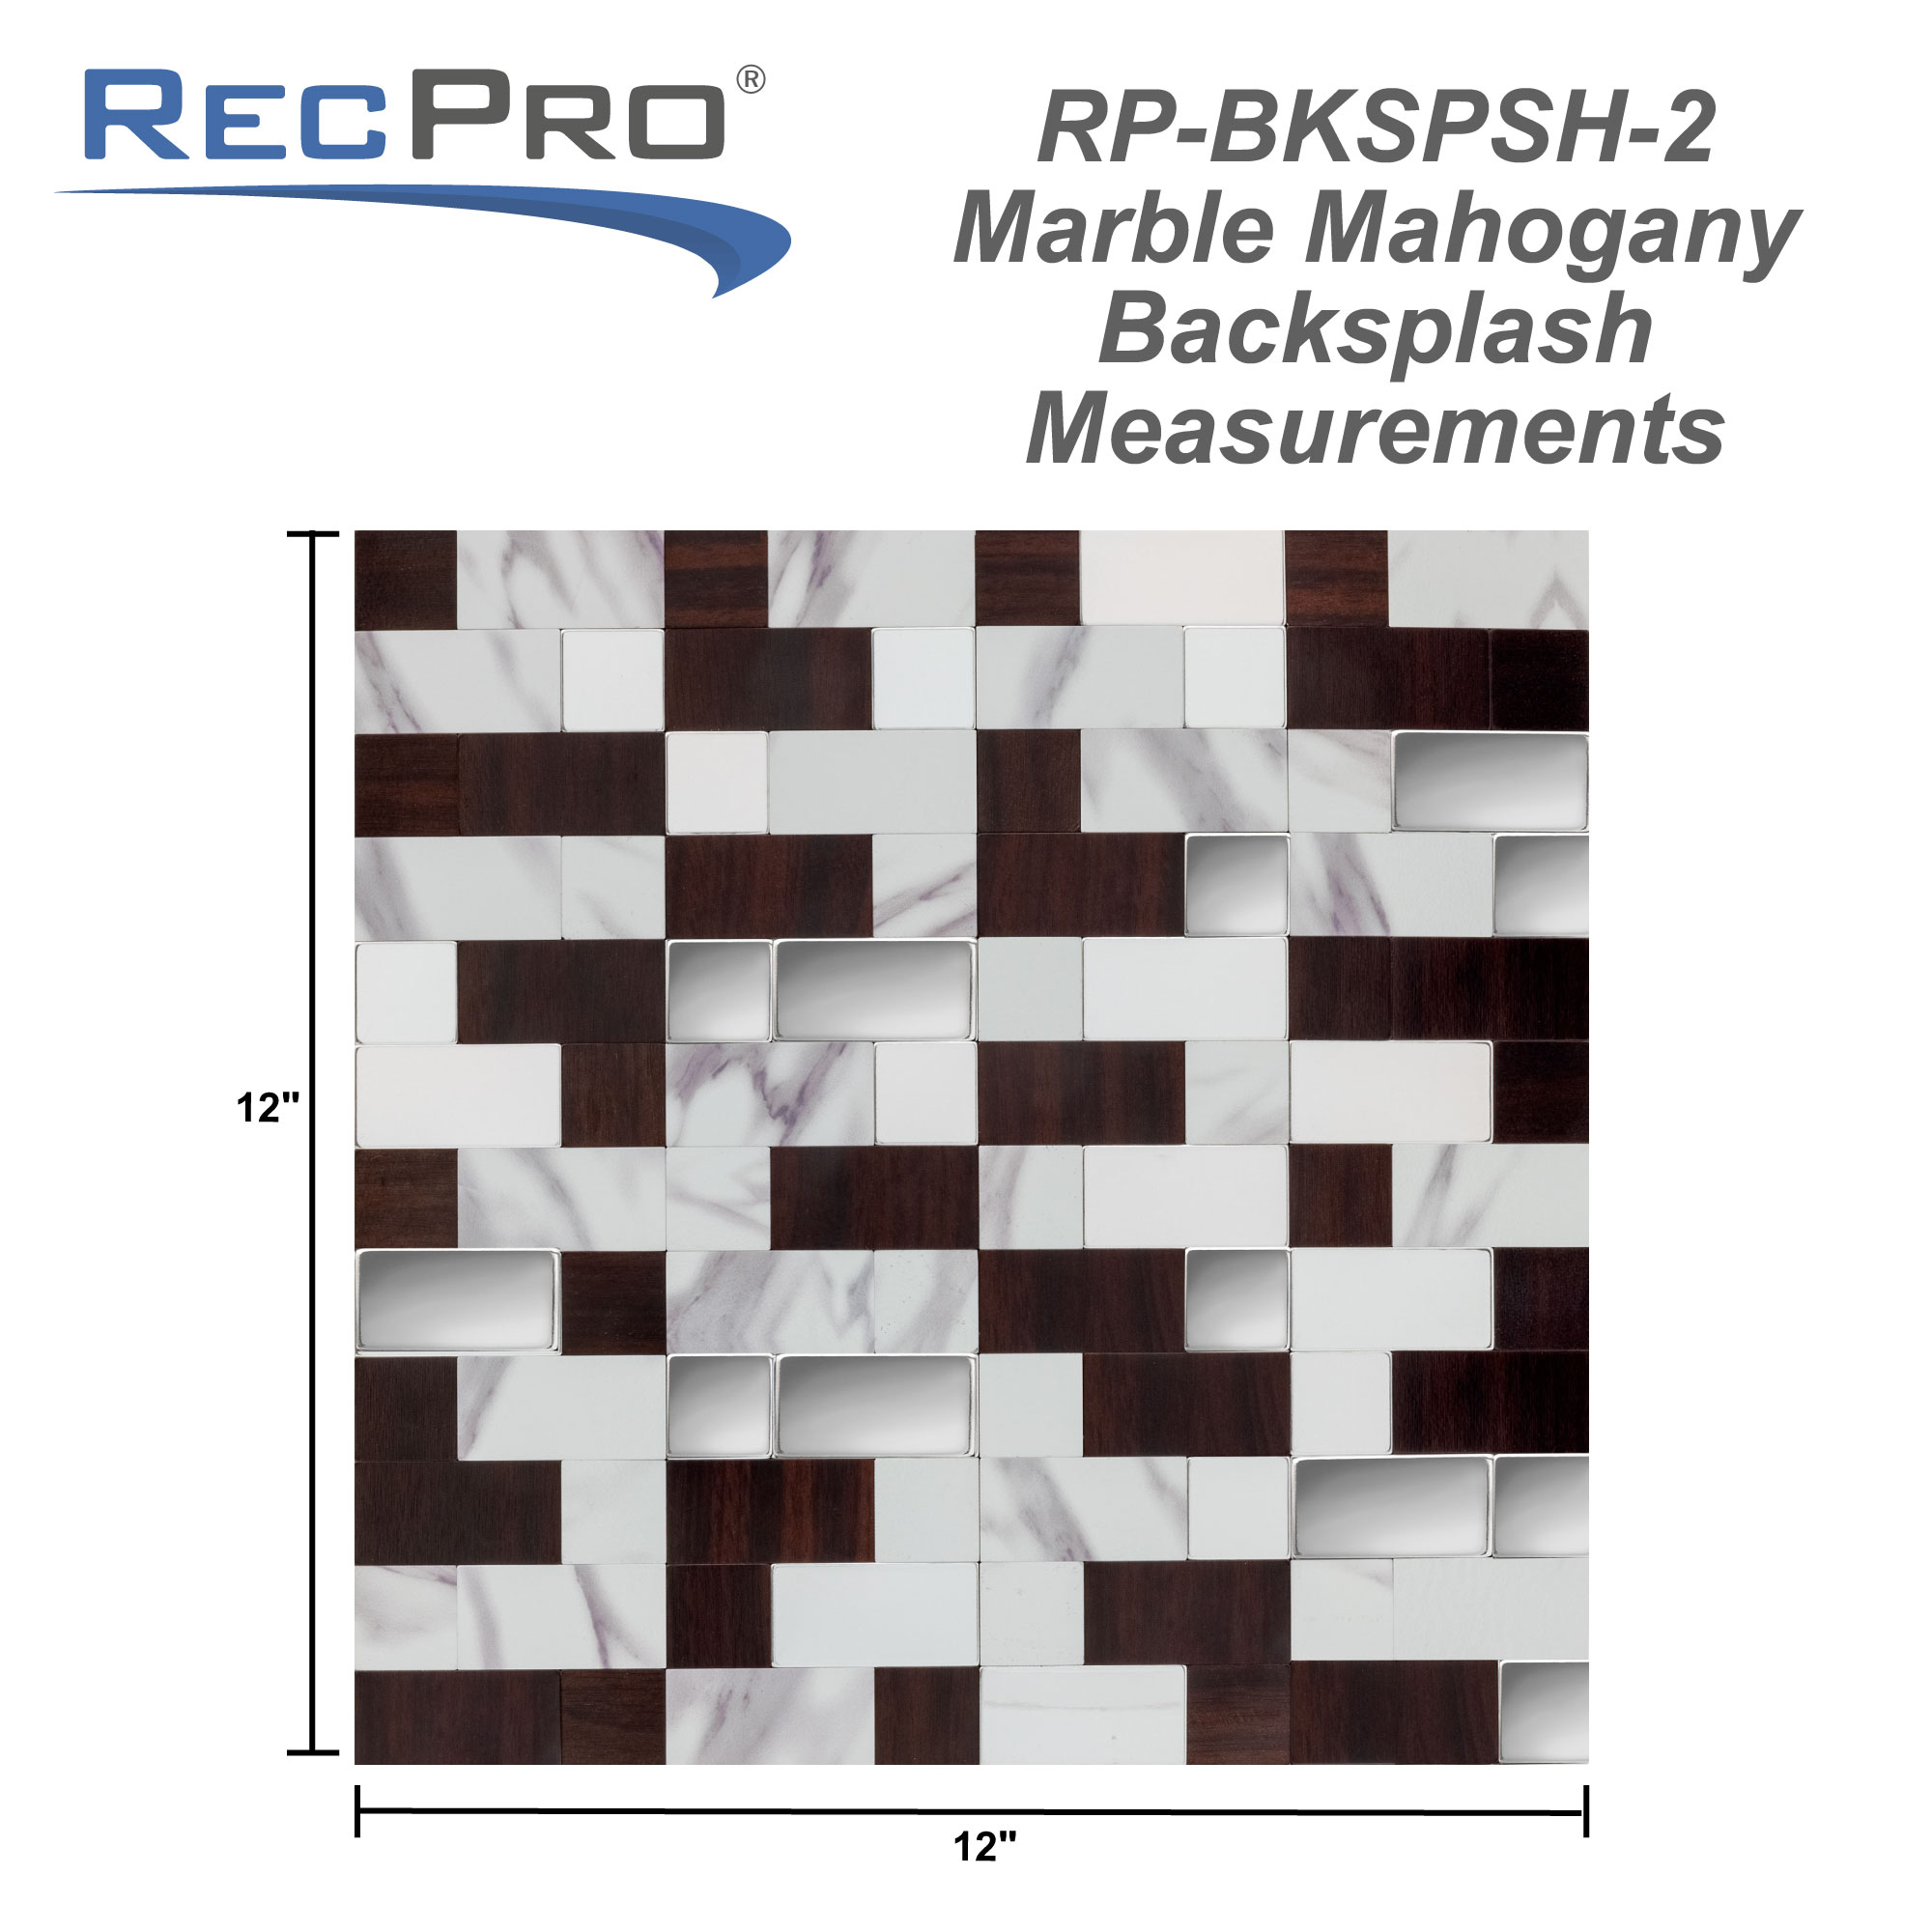
RV Backsplash Marble Mahogany Tile 12" x 12" Peel and Stick
- SKU:
- RP-BKSPSH-2
 100% GUARANTEE
Description
 Adding style to your kitchen or bathroom doesn't have to be difficult. You don't have to have this huge all-day project to add that special spark to the area. There is an easy way out there: a backsplash. And no, not those tile and grout backsplashes that end up being messy, difficult, and taking up all of your time. We're talking about peel and stick backsplashes - the easy, simple way to add style, function, and personality to your kitchen or bathroom.
Your kitchen is mostly just a place to cook your food, right? So why would you need to pay attention to how it looks? Well, with a well-designed and attractive kitchen, you expand your style to the entirety of your RV, allowing you to feel comfortable and relaxed no matter where you are. Another way that this style addition helps you out is that it helps to create boundaries. By creating a solid place where the kitchen ends and the living area begins, you can create the illusion of space, adding in some visual space in your rig.
The space behind your stove, sink, and countertops can get pretty dirty (especially behind your stove). While you could clean it every once in a while, it can be difficult to clean paint and not have it wear down after a while. By adding a backsplash, you can keep things looking nicer for longer and have an easier way of cleaning that area. Just wipe it down with soap and water. And cleaning it isn’t the only easy part of this peel and stick tile. Installation is also a breeze. Just clean the wall, remove the film over the adhesive, and stick it to the wall.
With this simple and clean backsplash option, you can add that spark of style without fuss and frustration. Have any questions? Contact us online or call our friendly Customer Care team today!


Details:
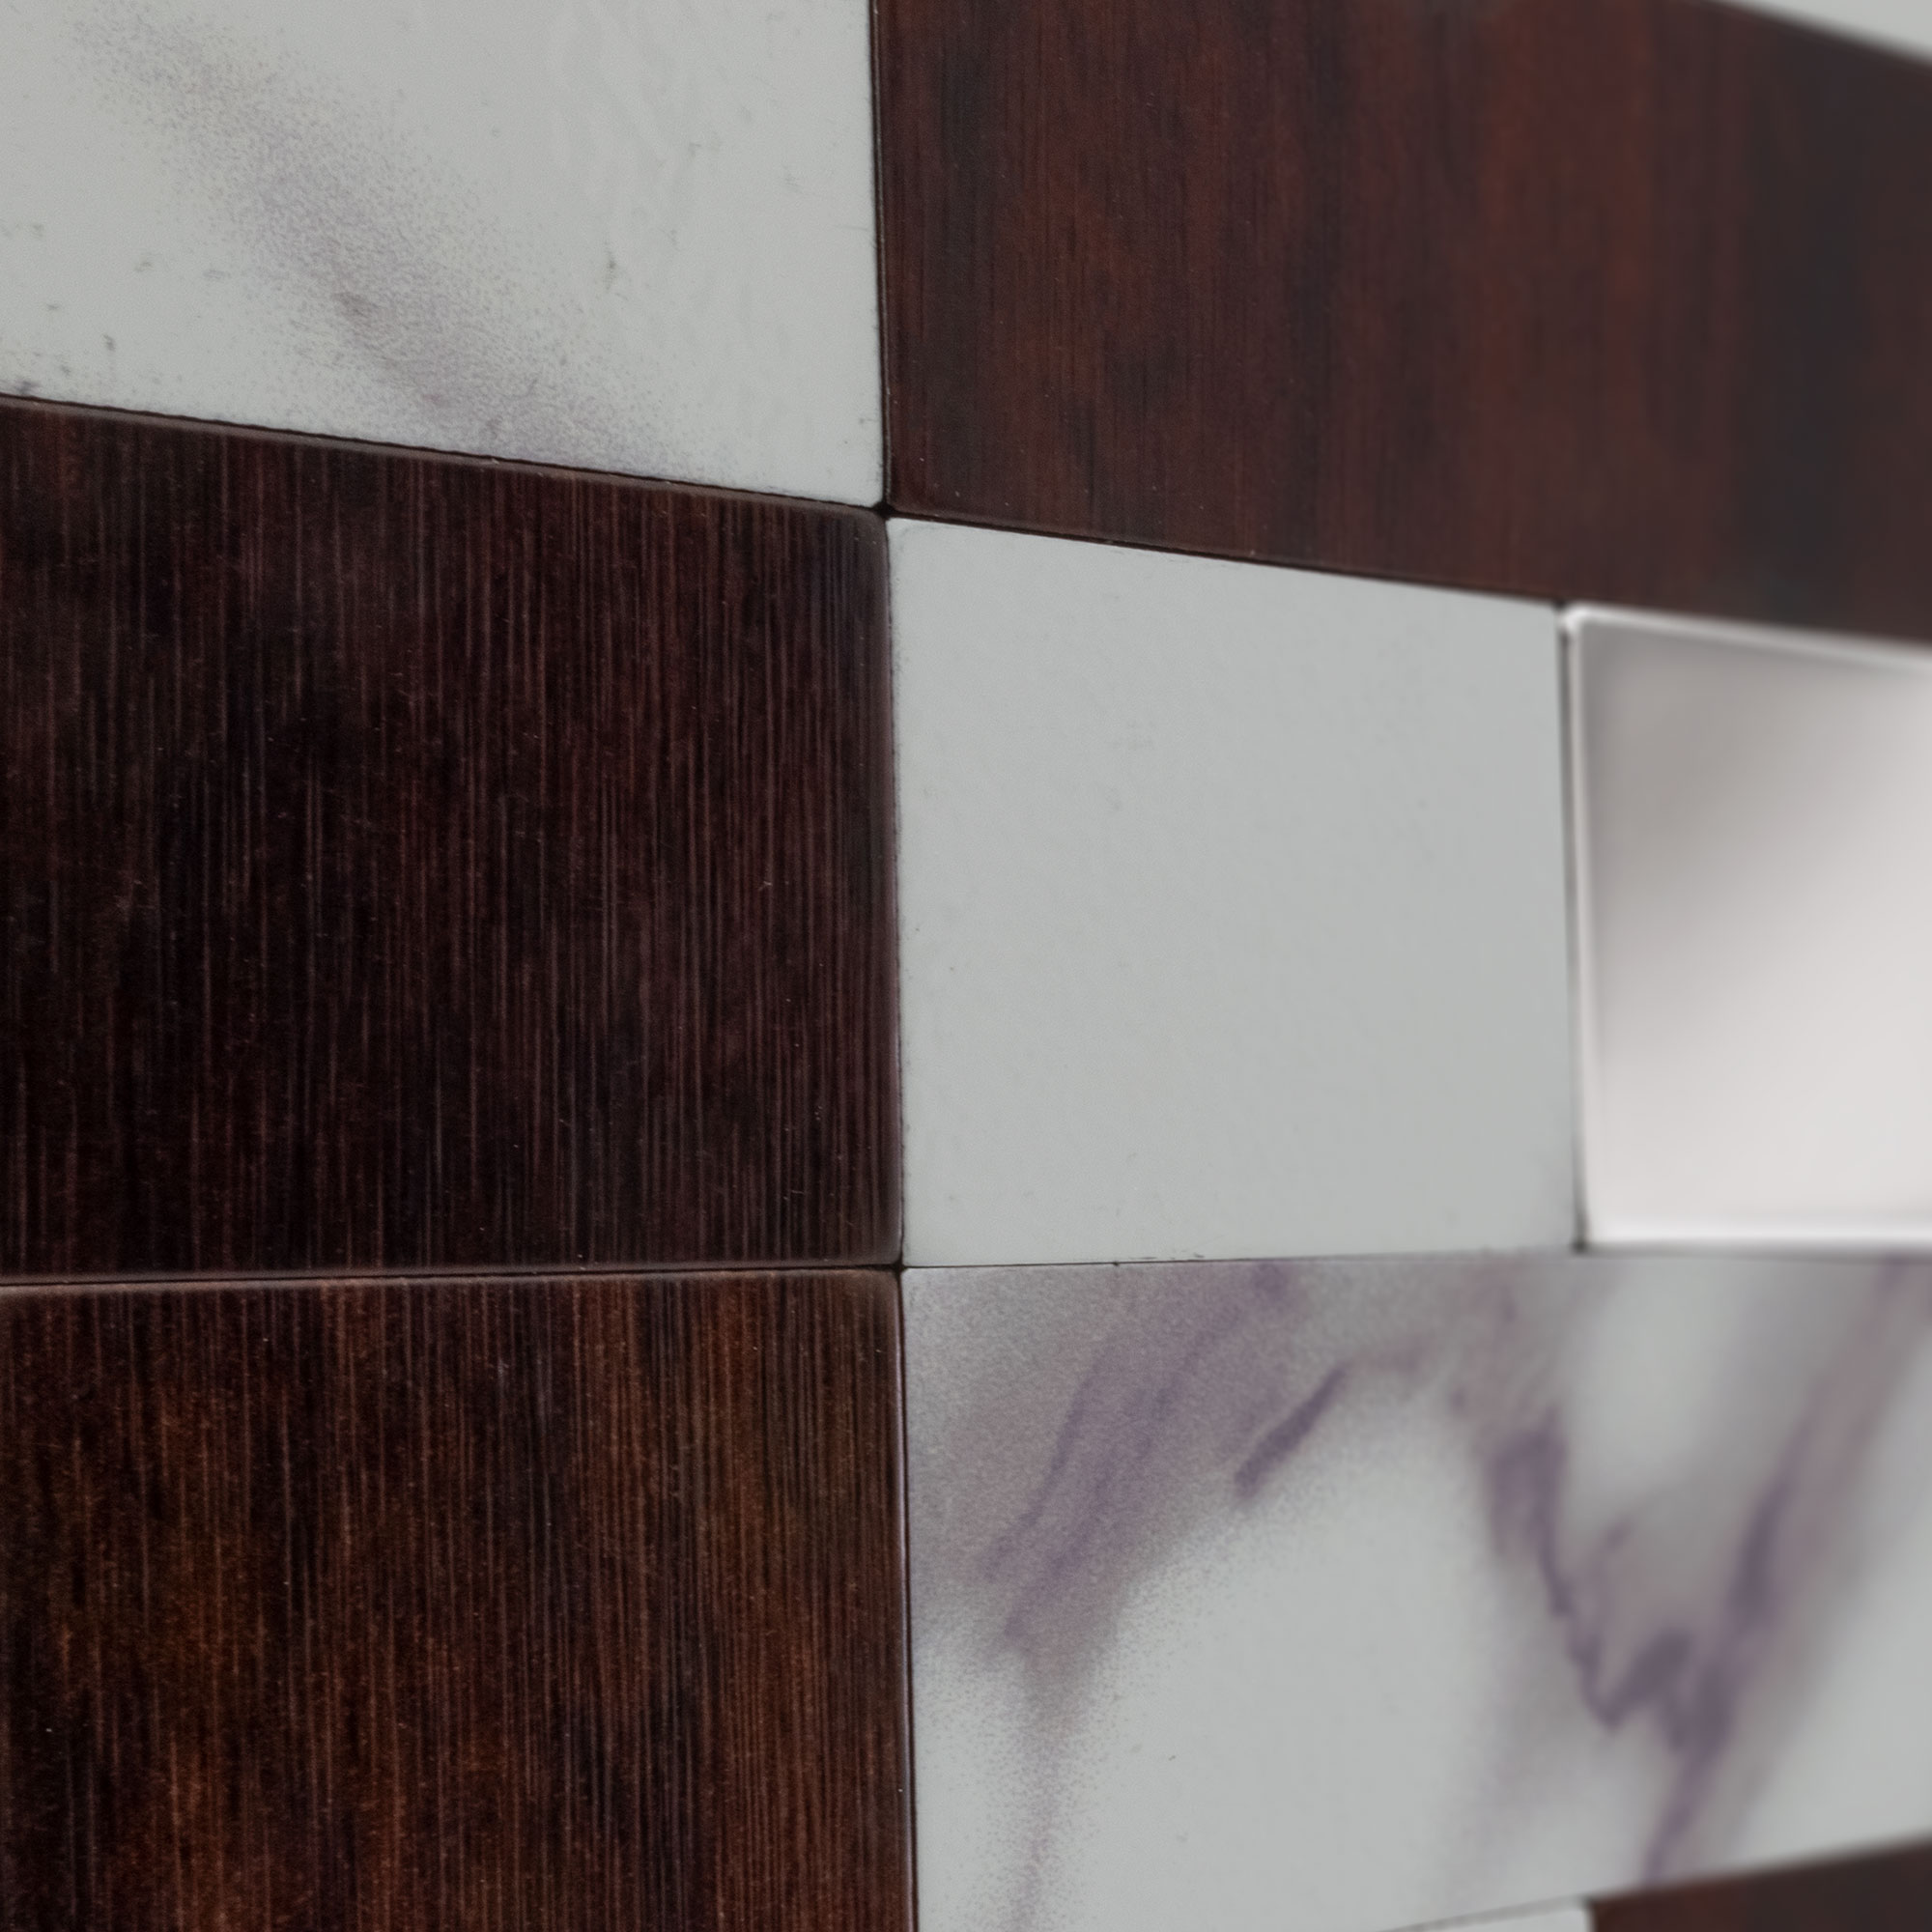
- Mosaic Tile Stick on Back Backsplash
- Dimensions per tile: 12" x 12" x 1/8"
- Square tile
- 1, 5, and 10 pack options
- Metallic effect
- Colors: Black, White, Brown, Marble
- Self-adhesive backing
- 1 pound per tile
- Keep kitchen cleaner while adding style
Installation Instructions:
- Prepare the wall. Ensure it is clean, dry, flat, primed, and free of dust. If the wall is damaged or even, additional construction adhesive should be used.
- Measure and plan the design. Mark starting tile position on the wall.
- Remove the film from the back of the tile. For cut pieces smaller than 3" x 3", apply some construction adhesive on the edges (1" from the edges).
- Place the tile against the substrate and firmly press over it.
- Apply grout if required. Use caution: abrasive particles may scratch the surface.
- Clean tiles with a soft cloth once firmly in place.


