Cooking on the Road: Meal Planning for Your RV Trip
You’ve been planning your RV trip for months. It’s finally arrived and you are all set up at the site. Your kids come up to you and tell you they’re hungry. But you forgot to plan for food. Now you have to pack everything back up and set out to find a place to eat. Cooking for yourself is a great way to avoid crowded restaurants and having to leave your campsite unnecessarily. All it takes is a little forethought and planning and you’ll be dining on great food in no time.
Why Cook for Yourself in Your RV
There are many reasons why you should cook for yourself and your family when you go RVing. You have a lot more flexibility in what you can eat. Got picky eaters or dietary restrictions? You are able to better cater to those needs when you cook for yourself. Not only that, but you can save money by not having to eat out for every meal at expensive restaurants. And that’s if you can find one with a parking lot that can accommodate your rig. And for those that are health conscious, cooking for yourself allows for healthier meal options.
Tips and Tricks for RV Cooking

The best place to start when you want to cook on your trip is to start planning before you leave. Prep is a huge key factor here that will help you big time. Start at the very beginning and plan out how many meals you’ll need based on the length of your trip. So if your trip is 4 days of camping and you eat 3 meals a day, you’ll need to plan 12 meals total. 12 can seem like a lot, but that’s why you start early in planning, so you’ve got plenty of time to fill those meals with ideas that everyone you’re feeding will love.
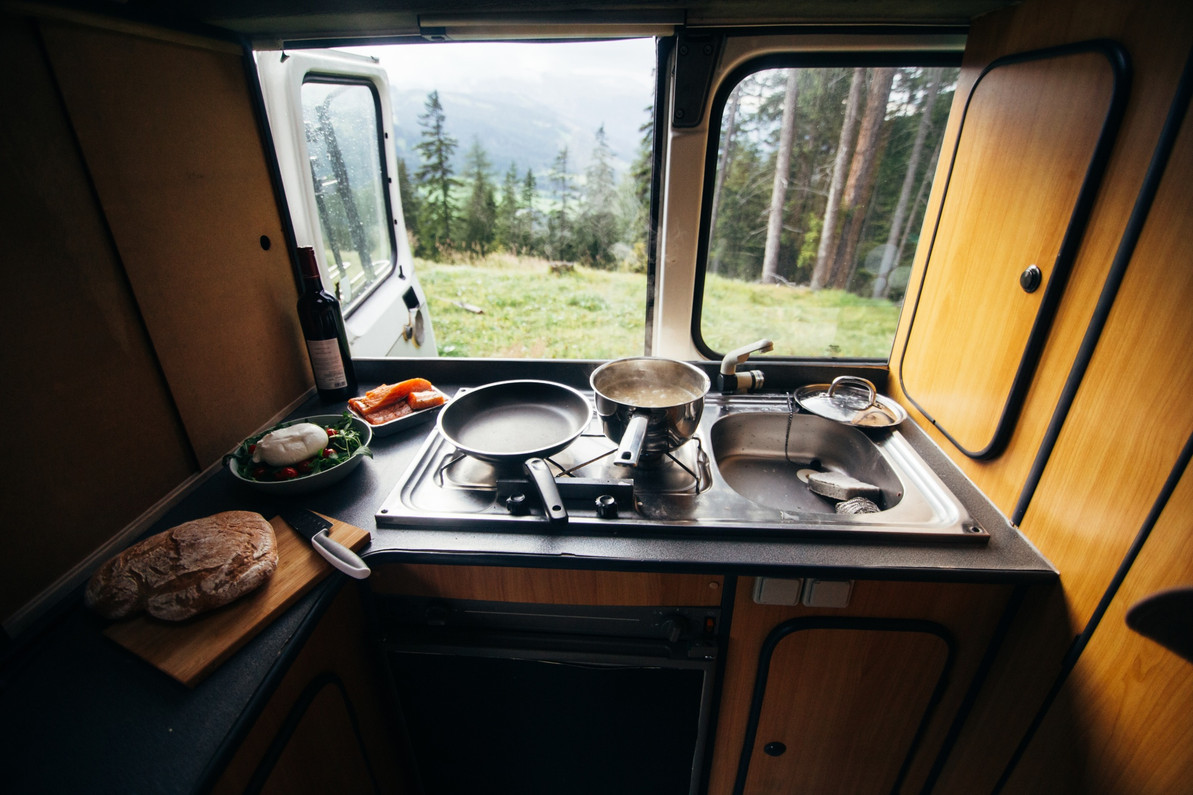
When looking for recipes, keep in mind the appliances you will have at your disposal. Are you camping in just a teardrop so you’re going to be relying on a campfire the whole time? Are you taking a little charcoal grill with you? Or do you have a whole kitchen setup in your RV? Or maybe you just have a little counter space with some small appliances like a slow cooker or instant pot. The cooking methods will help you focus your recipe planning. Some recipes can even be adapted to different cooking methods, you just need to plan ahead on how to alter the recipe. And once you find recipes that you want to use, print them out and keep them in a handy folder so that you won’t be looking for the recipes in spotty wifi while you’re trying to cook them at your campsite.

Prepping one pan meals or foil packet meals can be a great way to go and can help ease cleanup as well. Once you get your recipes in order you can easily make a shopping list and get all your ingredients. And a great way to help yourself in the future is to do as much food prep ahead of time. Got veggies that need to be cut up for kabobs? Cut those up at home and store together in tupperware or a storage baggie. Don’t want to juggle a bunch of spice containers? Get some snack bags and put spice blends into them so they’re ready to dump into the dish you’re making. There’s a lot of little things to do to get yourself prepped and ready for easy cooking on your trip.
Kitchen Gadgets
Are you still kitting out your RV kitchen and you don’t know what sort of appliances or pans or tools may be useful? No problem, here’s a few to get you thinking about what may work for you in your space.

No home or RV is complete without a cast iron skillet. This versatile little pan can be used on a campfire, on a grill, or on the stove. It's easy to clean and has great heat distribution. You can cook anything, anywhere with this pan.

A pie iron. It’s a little more specific and designed more for campfire use specifically. But if you want to try something new, this little gadget could be just what you need. Don’t let the name fool you though, you don’t need only make little hand pies with a pie iron. You can make grilled sandwiches, like a grilled cheese or a hot ham and cheese. You can make quesadillas and wraps and so much more on the fire with a pie iron. Check out some ideas here.
Want to get a little more modern than just some cast iron pans? Why not try an electric pressure cooker? If your rig has electrical hookups, an electric pressure cooker could be a great option. From soups to rice to fall apart roasts, the pressure cooker is a great tool for any kitchen, but especially one on the road.

Maybe you don’t have electricity in your rig. Or you specifically want to boondock. Get something that hooks up to propane. Propane based table top griddles are a great option then. We’ve even got a helpful guide for looking for a new griddle cooktop here. Cook up a diner style breakfast or stir fry dinner with this great option for cooking.
And you can never go wrong with a portable grill or stove. Those are classic cooking elements to take with you to cook. These also hook up to smaller propane tanks and are easily transportable. Making it easy to cook anywhere with any size rig.
Recipes to Try on Your Next Trip
Start Your Morning Right with a Campfire Breakfast Skillet
Starting your day with a hearty breakfast is the best way to set you up for success.

Ingredients:
- Potatoes (Yukons, Red, or New potatoes work best, you could also swap the potatoes for hash browns and save yourself some prep time)
- Peppers and onions (any pepper from bells for some flavor to jalapeno or habanero for some spice. Any onion works but yellow or white (or shallots) work best)
- Cheese (pick your favorite shredded cheese, cheddar, colby, swiss, whatever)
- Eggs
- Breakfast sausage or bacon (or both!)
- Seasoning (salt & pepper, garlic powder, chili powder, paprika, anything you love)
- Extra toppings (scallions to finish, fresh jalapeno, cilantro, parsley, hot sauce, cheese, ketchup)
This is by no means a set list, feel free to add or remove items to make your perfect skillet. This list is just to help you get ideas.
- Heat a large skillet over the fire, grill, or cooktop (medium if you are able to control the heat). Add chopped bacon or crumbled sausage and cook till brown and desired crispness. Remove from pan, but save about a tablespoon of grease for the next step.
- Add your potatoes, turning as they begin to brown. About 10-15 minutes. (A little less if going the hashbrown route)
- Add a little oil if your pan is starting to look a little dry and add any peppers you want. Saute about 5 minutes, or until they start to soften. Then add onion and some salt and saute another 5 minutes until soft.
- Beat your eggs in a bowl. Add sausage or bacon back to pan, stir into vegetables and move to the edge of the pan to create a well in the middle. Add a little oil and then your eggs, cheese, and seasonings. Scramble eggs until desired doneness then mix everything together.
- Remove from heat and serve, topped with desired toppings.
Chicken Pineapple Skewers
Ingredients:
For the marinade:
- 1 lb chicken, cut into one inch pieces (breast or thighs work depending on preference)
- ⅓ cup ketchup
- ⅓ cup brown sugar
- ⅓ cup soy sauce
- ¼ cup pineapple juice (can use the juice from canned pineapple if using)
- 2 tablespoons olive oil
- 1 ½ tablespoon rice vinegar
- 4 cloves garlic, minced or grated
- 1 tablespoon ginger, minced or grated
- ½ teaspoon sesame oil
For Skewers:
- Marinated chicken pieces
- Red onion, cut into about 1 inch pieces
- Pineapple, about 1 inch cubes (fresh or canned can be used)
- Skewers, bamboo or metal (if using bamboo, be sure to soak them in water before grilling)
- Add cubed chicken to a gallon size resealable bag. Mix remaining marinade ingredients in a bowl. Reserve a half cup of marinade and pour remaining into the bag with the chicken. Refrigerate 1 hour.
- Preheat grill over medium (about 400°F) or preheat grill grate over campfire. Drizzle olive oil over onions and pineapple pieces.
- After an hour, remove chicken from fridge. Skewer pieces starting with onion, pineapple, chicken, and repeat until skewer is full. (don’t squish pieces on skewer, be sure to leave a little room between each piece) Repeat with remaining skewers until ingredients are gone.
- Brush grates with olive oil and place skewers. Grill for 5 minutes then brush with reserved marinade. Rotate and baste other side with remaining reserved marinade.
- Grill about 4 more minutes or until chicken is done (chicken is cooked and safe to consume at 165°F)
Shrimp Boil in a Foil Pack

Ingredients:
- An ear of corn (cut into 8 pieces)
- Potatoes, quartered (New or Red work best)
- Garlic
- A half pound uncooked shrimp (peeled, deveined, and tail on or off is fine)
- 2 andouille sausage (cut into about ¾”-1” pieces)
- Old bay and cajun seasonings
- Butter
- Fresh parsley
- Tear two 18” pieces of heavy duty aluminum foil (feel free to line with parchment for easier recycling of the tin foil or less direct heat from the foil)
- Divide all the ingredients between the two sheets of foil.
- Form packets by joining two short edges of foil and crimping all around to form a full seal.
- Cook on a grill or grill grate over a campfire for 8 minutes, flipping occasionally.
- Remove and let cool slightly. Be careful when opening as they will release steam. Top with parsley and enjoy.
Go Sweet with Campfire Cones
Ingredients:
- Waffle cones
- Mini marshmallows
- Chocolate chips
- Graham crackers, broken into pieces
- Toppings: M&Ms, mini peanut butter cups, bananas, strawberries, coconut, brown sugar, caramel, nuts, crushed chips, pretzels, anything that sounds good
- Foil
- In the waffle cone, layer with marshmallows, cracker pieces, and whatever toppings you desire. Wrap the whole thing in foil. Put into campfire coals for 5-7 minutes or until everything is nice and melted. (You can also bake these at 400 for 5-7 minutes)
These are a great alternative to s’mores if you have a large gathering. People are able to be as creative as they want. And if you have little kids, it’s a little less messy than a traditional s’more.
You can also never go wrong with classic camping staples like hot dogs, brats, hamburgers, cold cut sandwiches, and chili. And you can never go wrong with a classic s’more around the campfire. Your time in nature is the perfect time to get a little creative with your meals. Try new things or try things you are used to but cook them in a new way. This is your time to have fun and that fun should extend to meal time.

Have one less thing to worry about when planning your trip by getting your meals planned and prepared ahead of time. Not only will it save you the headache of trying to figure out dinner on the road, but it will also give you more time to hike, have fun, swim, or whatever else you have planned. And when planning meals, don’t forget snacks, drinks, and food for your pets.
Recent Posts
-
Traveling to the RV Hall of Fame in Elkhart, IN
If you are traveling to Elkhart, IN to see the RV Hall of Fame, getting off the toll road at exit 96 …Nov 14, 2025 -
Best RV Air Conditioners of 2025: An Expert Guide From RecPro
Quick Answers Best overall RV air conditioner: RecPro 15K Quiet AC with Heat Pump (RP-AC3800) Best f …Oct 29, 2025 -
The Nuclear Nomads Expand Sofa with New Recliner Section Install
The Nuclear Nomads are a full time RV family living in south Florida. Andi and Joey value quality ti …Oct 24, 2025 -
Trailer Wiring Guide: How to Wire Your Trailer for Safety and Efficiency
Table of Contents 1. Common Types of Trailer Connectors 2. Trailer Wiring Diagrams: Color Codes and …Aug 20, 2024 -
How to Keep Your Pets Safe While Camping
RVing and camping are a great getaway from the hustle and bustle of work and the city and the day-to …Jul 02, 2024 -
Why Replace Your RV Furniture?
You may wonder when is the best time to replace your RV furniture. There is no one right answer to t …May 20, 2024


