If you are a fair-weather camper, you probably don't put much thought into how to keep your tanks from freezing. You winterize your rig and tuck it in to hibernate the cold months away. But if you are a full-timer, or interested in wintering somewhere north of the Mason Dixon, then it might be time to consider what potential damage the cold can do to your rig. Think of the roads you travel. Potholes are formed by the pressure of water when it freezes and thaws against the asphalt surface. Why is this important? Your water is housed in plastic tanks and plastic by itself becomes brittle when exposed to sub-freezing temperatures. When the plastic parts on your RV meet with freezing water, they probably aren't going to do much better than the surface of the road.
Some manufacturers offer an "all-weather" or "three seasons" package for those of us who want to extend our travels into the colder months. But if you didn't think about it when you purchased, your plans have changed over the years, or you are a second owner, then you may be thinking about what your next step should be.
There are a few ways to keep under the floor components from freezing. You can add a skirt, keep a heat lamp going on the underside, or keep the inside of your rig nice and toasty and hope if the floor is warm then the items under it will remain partially unfrozen. There is also the option of winterizing your tanks and dry camping relying on campground amenities. But, isn't one of the perks of having your own bathroom so that you don't have to walk up the hill to a community bathroom in the cold?
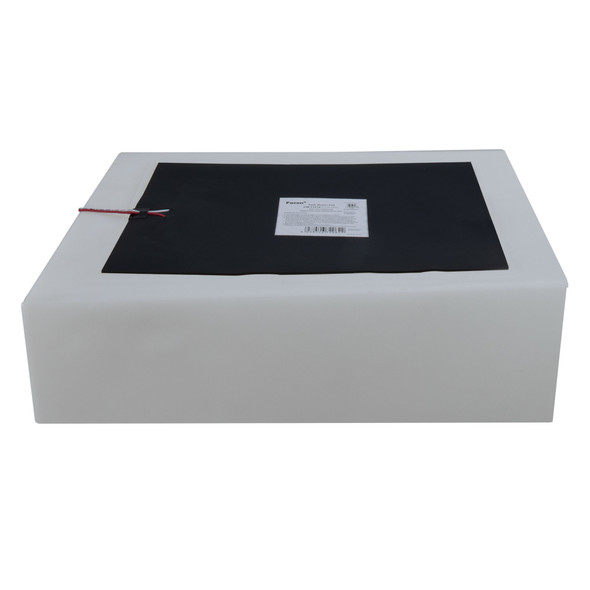
If you want to fully enjoy your rig in the cold just as you would any other time of the year than it is time to consider adding tank heating pads to your holding and freshwater tanks. Once properly installed they are low maintenance. No checking on them every few hours to make sure they are still working like a heat lamp under your floor. No attaching skirting and then taking it off and putting away when you are ready to hit the road. And no using community toilets. Just peace of mind and the joy of unfrozen tanks.
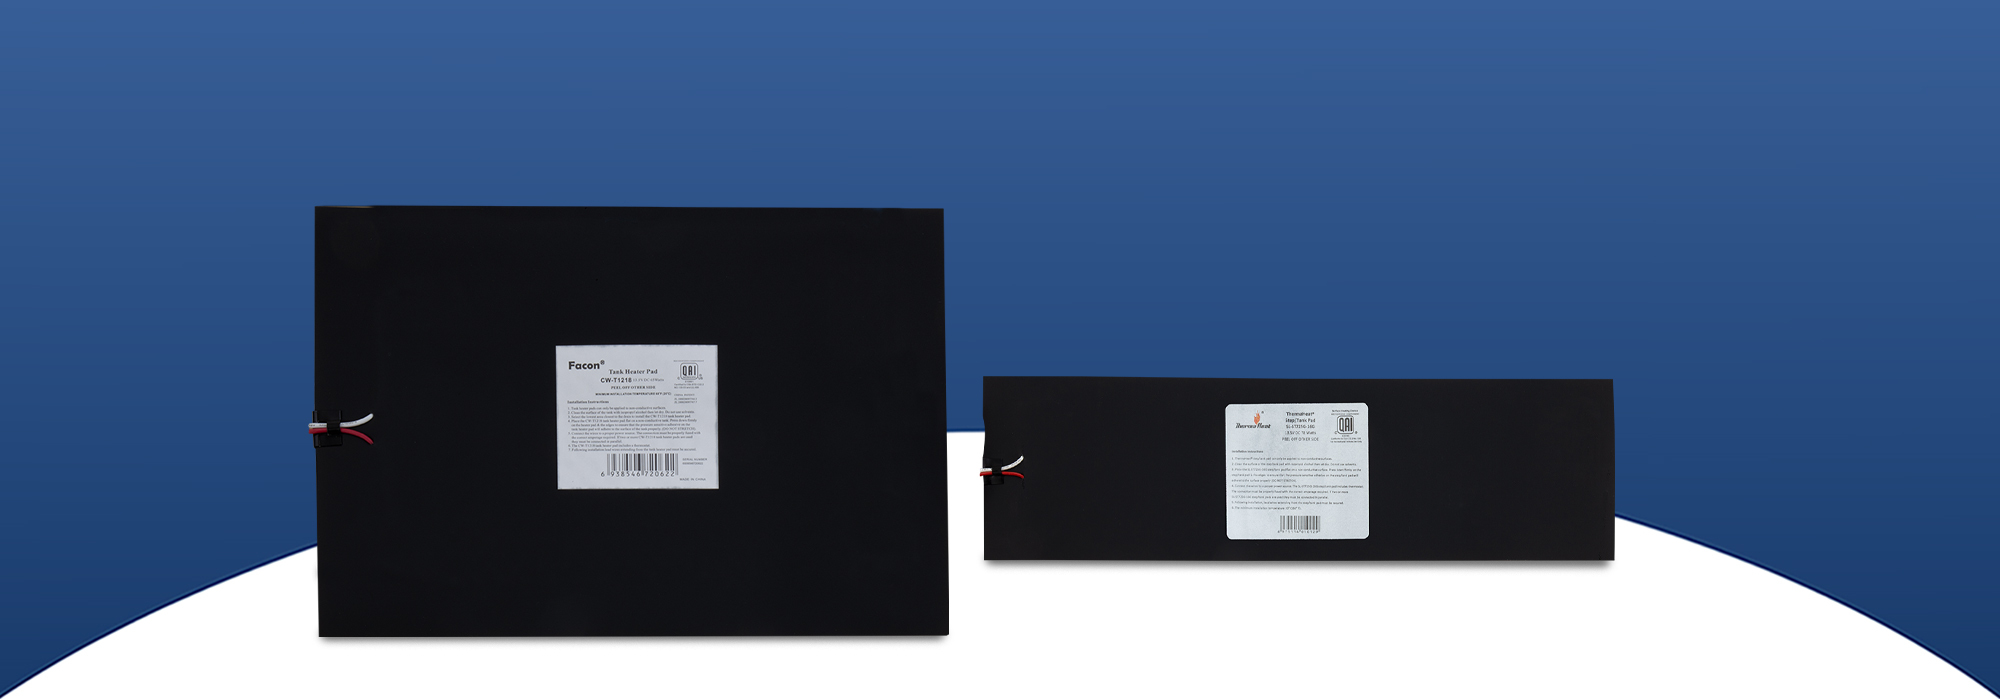
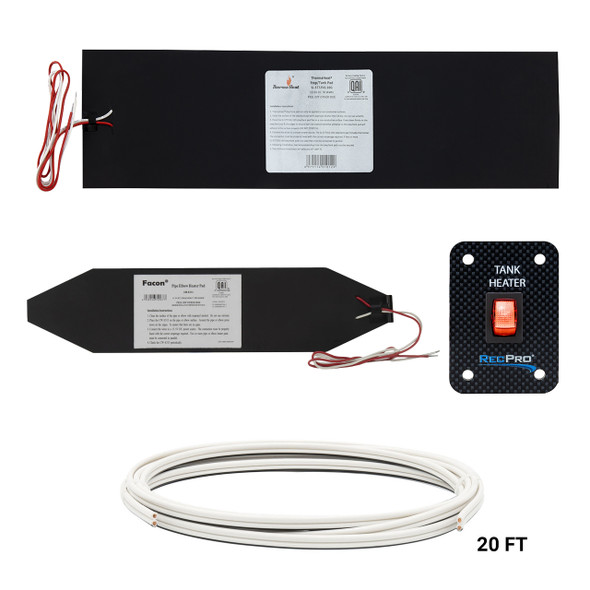
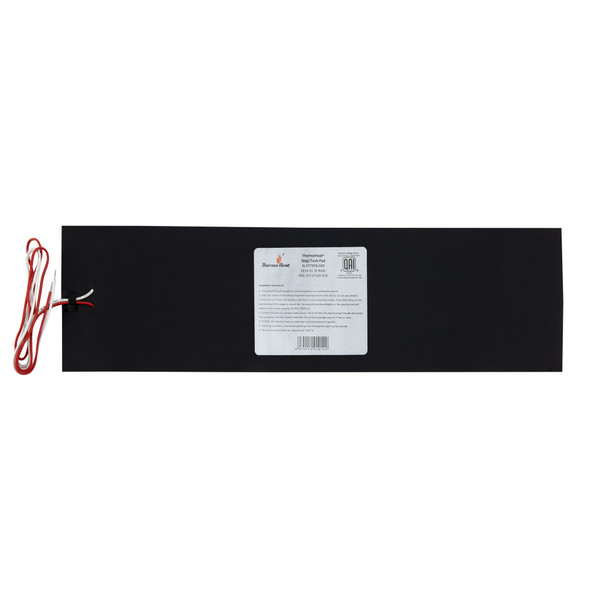
Tank heater pads come in a variety of shapes and sizes and can be installed singularly, or connected in parallel to maintain temperature in multiple tanks at one time. The slim profile and peel and stick adhesive allows them to be added to the outside of most tanks. We also carry elbow heating pads, in case your elbows get cold, or to extend the warmth of a hug further into your plumbing system as the case may be. We even have one that can be a step heater to keep your step from freezing. Genius!
Also, it seems appropriate to mention here, we have toggle switches as well for heating pads or other toggling needs. When you know the outside temps are going to drop below freezing, you can simply toggle to on and let the heater pad do all the work. These sturdy little switches are built to last and will power on and off repeatedly. Nothing to drag out or cart around. Just the flip of a switch and you are back to relaxing.
One great feature about heating pads from RecPro is they are thermostatically controlled. That means if you've toggled them on, they will cycle on and off as needed. No need to peek in on them like sick children in the middle of the night.
Heating pads can be used in conjunction with other methods to maximize effectiveness. And maximizing effectiveness equates to maximizing your RV enjoyment. With so many winter fun destinations available, don't waste your time babysitting your tanks. Let RecPro give you peace of mind with some tank heater pads and get back to your adventure!
**IMPORTANT**
The heater pads are designed to work continuously in freezing temperatures only, and fluids must be present. You can test the Heat Panel in the following way:
- Locate the built-in temperature sensor, placed close to where the power leads enter the heat panel. A hard lump approx. 1in x 3/8 in (2.54cm X .95cm)
- Power 'on' the heat panel.
- Place a small bag containing crushed ice, or a bag containing Dry Ice, over and against the back of the heat panel where the sensor is located. You have to fool the sensor into thinking it's colder than 44° F (7° C). Depending on the ambient temperature, this may take a while.
- While holding the ice in place with one hand (or other temporary methods), place your other hand on another point on the backing, in the center of the panel. At some point you will feel the panel start to heat up a little, when this happens you know everything is wired and functioning in the correct manner.
- Power 'off' the heat panel.
Only turn it on if the external temperatures are at or below freezing and will remain so and when fluids are present in the system.
Power it off once the external temperature goes above freezing and will remain so or when the fluids have been removed from the system
We recommend having a separate switch for the gray, black, and fresh tanks because the levels of fluids can differ between them. If you have all of the pads on one switch, then you will need to put water in the gray and black tanks even if they are not being used as much as the fresh tank
