When considering the process for winterizing your RV, you have to decide the type of winterization for which you are prepping. Are you going to keep your RV on the road through the fall and winter months or are you going to store your rig until the next RV season? While both sides of the winterizing fence share some of the same preparations, there are also vastly different approaches that must be taken to help you have a successful transition through the winter season. The first we'll take a look at is winterizing for a full-time 365'er.
WINTERIZING – FULL-TIME OWNERS
The first thing you have to know about being a full-time owner (of course all RV owners are "full-time," but this refers to owners that roll around the country in their home all year long) is that the general idea about a 365'ers life is that they travel to warmer climes in the Winter. The term "snowbirds" is defined as such in the Merriam-Webster dictionary. While the term snowbirds shouldn't pigeonhole any year-round RV owner, that statistic does apply to the majority of owners out there.
But what of the owners that like to travel the entire country all year long? What about those that have family in the upper third or the Midwest? They are a part of the RV community as well as those that flock to the southern states on the conclusion of Thanksgiving. How should those bold adventurers prepare?
One of the first things you should do before anything else delves into your owner's manual for any questions that apply to your specific model of recreational vehicle. If you can't find an answer in the comprehensive manual provided, contact your RV's manufacturer directly. They will have solutions that many shops, aftermarket suppliers, and dealers will not (specifically recommended hardware types.)
After you have checked with the manufacturer, there are a series of steps to take that will help you secure your RV for Winter:
Vents
Securing your vents should be the first thing on your mind. It's simple quick and will plug up major holes where heat can escape. You have to think, just as much as your vents are created to let cold air in during the summer, they will also let just as much heat escape during the Winter.
You can purchase RV vent cushions from retailers to fit your specific vents, or if you are a DIY, you can cut-to-fit large pieces of foam (found at any hobby and craft store) and put them in the voids yourself. You can even go the extra step of covering the holes with thick plastic if you are worried about frigid penetration.
Windows
This is another place where you can experience a great deal of heat "bleed" to the outside. The first thing to do is check if your RV has dual-pane (thermal) windows. If it does, you're ahead of the game, substantially. If you find yourself without dual-pane windows, you should consider replacing them.
While this is a significant expense, the benefit over time well outweighs the cost. If you can't afford to replace your windows, a simple (and much more cost-effective) way to save on your heating is to install insulated curtains on all of the windows in your rig. Leaving these thicker curtains closed (especially at night, and while not traveling) will keep a lot of the warmth in your inside of your RV. You can do this at a fraction of what it would cost you to replace your windows.
Winter Emergency Kit
While it may seem that refrigerators and plumbing are higher on the list of importance for Winter planning, the emergency kit shouldn't be ignored. This kit will help you get out of those problem situations that could, during the Winter, be potentially life-threatening. Here is a list of items (at a minimum) you should carry in your rig:
Extra food: If you're stranded, especially somewhere far from civilization, extra food could make a massive difference in your survival
Blow dryer: This is the preferred method for defrosting pipes which can quickly happen in the Winter.
Drinking water: This is separate from your supply in your potable tank. It needs to be inside of your RV, or a baggage area, where there is heat. This way you will have instant access to fresh, unfrozen, water in the event of an emergency.
Blankets/Clothing/Sleeping bags: You should have an extra set of each in a storage compartment. Your sleeping bags should be rated for 0° (Fahrenheit), and clothing should be extra thick.
Electronics: Fold-out solar panels, emergency GPS, satellite phone, and a weather band radio are primary examples of electronic devices and chargers that can help you out of severe situations while you're winter traveling.
Tire chains: Tire chains should be a mainstay of any emergency kit for larger vehicles. If for some reason you find yourself in the mountains, and it begins to snow, you'll thank yourself time and time again for remembering to pack snow chains.
Undercarriage
The issue being what an easy way to protect the underside of your RV where many of your precious systems are housed is? A wrap-around skirt can keep ice chunks, snow, dirt, and road debris away from the undercarriage. The more you can keep the outside away from your internal components, the longer your RV's health will last
Fridge
The mixture of chemicals in your propane or electric refrigerators in your recreational vehicle is a combination of sodium carbonate, ammonia, distilled water, hydrogen gas, and sodium carbonate under less than 200 PSI. If the outside temp gets too low (25° or lower), then the chemical gasses can turn into a gel-like slurry that can leach into the system's coils and damage them, irreparably.
One suggestion to avoid this happening is to plug 2/3 of the refrigerator vents with tape (on the inside of the vent, so the adhesive doesn't show on the outside) or trimmed up pipe insulation in the vents. This will prevent frigid air from entering the exhaust as rapidly while you are traveling. If it is cold outside a space heater near your pipes will help, as long as it is not a flammable surface that it is near.
Hoses
Heated water hose, thermal pipe insulation, and heated pipe wraps will help keep your system stabilized at the campground and while you're traveling. If you leave your pipes unprotected and they freeze up, they can crack. You get cracked pipes you're not only replacing them, but any water damage that may occur can stack costs on you exponentially. A little bit of prevention can keep costly repairs at bay.
Holding tanks – Empty the tanks before you go on the road and then add about four cups of pink (not green) special RV antifreeze to the tank. This will help prevent the dump valves from icing up and "ice damming" from occurring.
Wheels
The cold temperature can affect your wheels, and your RV is only as mobile as the wheels allow it to be. When temps drop rapidly, so do tire pressures. Make sure you're correctly inflated to matter where you are traveling during the Winter.
Seals
The surest way to allow the outside into your RV is by leaving seals unchecked. If you have cracking, spacing, tearing, or any other damage to your exterior seals that could mean water, ice, and leeching cold can penetrate your vehicle. By replacing (or caulking and sealing) aged or broken D bulb, wiper, and trim rings, you can save yourself a lot of headaches down the road. This is an ideal summer project and should be done before traveling in Winter.
Those are just a few solid tips to help you travel the roads during the Winter. There are many more, and you should take heed of all that can help you while you travel.
WINTERIZING – PART-TIME OWNERS
If you're like the majority of the part-time owners in the country, you shutter your RV in the Winter. Now, while we support a 365 lifestyle for all RV owners, we understand that people have lives to live and they (unfortunately) need to put their home away from home in a stored capacity. To do this, there are some specific prep steps before you can turn the lights out and wait until Spring.
Drain the tank: One of the first things you want to do is drain your fresh water tank. Leaving water in the tank over the Winter can lead to almost certain damage. You'll want to flush your entire system, and it all starts with the tank.
Filters: If you have any filters that are in the systems (in-line) remove them and reconnect (bypass) the pipes before starting.
Drain and then clean (flush) the grey water and black water tanks - Some RVs do not have an automatic flushing system so you will need a hose or wand to clean the tanks thoroughly.
Water heater: pull the drain plug and open the pressure valve (this will allow for complete drainage by avoiding a vacuum.) DO NOT do this while the water is still hot or under pressure. Wait for a long time after the unit has been fully turned off before attempting to complete this step.
Open the faucets: Hot and cold in your galley, lavatory, and anywhere else. Remember to do your toilet and outside shower (if applicable.)
Low point drains: There should be low-point drain lines for both cold and hot water. Open both. Once this is completed, use the water pump to force water out of the lines. Turn it off immediately after the lines run out. Once finished plug all drains and close all of your faucets.
Bypass the water heater: You will waste antifreeze if you do not do this. Bypass kits are available at RV retailers and RV shops.
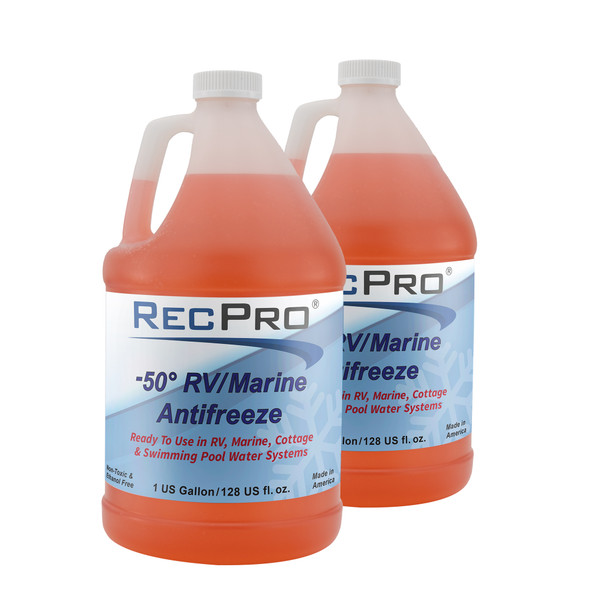
Install a water pump converter kit, or disconnect the inlet side of the water pump (the line coming from the fresh water holding tank). Connect a piece of clear tubing to the inlet side of the pump and put the other end into a gallon container of non-toxic RV antifreeze.
Pump: Activate the pump and pressurize the system. Open the faucets (closest to the pump, first) and run until antifreeze appears.
Repeat: Repeat this process on all faucets until you've taken care of all including outside showers and toilets.
Turn the water pump off and open a faucet to release the pressure. Go outside to the city water inlet. Remove the small screen over the inlet and push in on the valve with a small screwdriver until you see antifreeze. Replace the filter. Pour a cupful of antifreeze down each drain. Pour a couple of cups in the toilet and flush into the holding tank.
Check all faucets to make sure they are entirely closed after running the non-toxic antifreeze through the lines. Your system is now winterized and ready to store.
Extras: Make sure and remove all liquid items from your rig. This means drinks, soaps, chemicals, and other fluids. Also, to avoid critter incursion into your rig over the Winter, remove ALL food. Their noses are incredibly sensitive and even packaged foods are subject to attack.
There is a lot to consider when getting your RV ready for the Winter. You want to make sure to take precautions, or your beloved RV might not make it through the Winter, whether on the road or in the storage unit.
*Potable water is defined as water that is safe for drinking. The assumption is that it is relatively bacteria free and has had some treatment. This is water considered safe for cooking processes. *
**DO NOT, REGARDLESS OF THE SAFE NATURE OF OUR ANTIFREEZE, DRINK THIS LIQUID. WHEN YOU ADD IT TO OR FLUSH IT FROM, YOUR SYSTEM, ALWAYS DO SO BY MANUFACTURER'S INSTRUCTIONS. AGAIN, DO NOT, UNDER ANY CIRCUMSTANCES, DRINK THIS FLUID OR ANY FLUID THAT IT HAS BEEN ADDED TO**


 $25.95


 $94.95
 $79.95
 $31.95
 $35.95
 $23.95
 $51.95
 $47.95
 $47.95
