RV seals. While these seem like a straightforward part of your RV, they are quite a bit more complicated than just "the stuff that keeps out water and weather." The seals that protect your RV, home, vehicles, windows, and other weather-sensitive applications are a complex combination of engineering and design that go well beyond the merely squishy appearance they hold. While these are often overlooked during maintenance checks and repair of the structure, these are crucial items that need every RV owner's attention.
First, to understand RV seals and their multifaceted nature, you have to look at what they're up against. RV seals are in operation twenty-four hours a day. Whether your rig is parked in your garage for six months while you wait out the weather or you're on the road full-time, your seals are working in all manner of environments.
What makes them especially crucial to the health of your RV is they maintain the environment inside of your RV, and they keep the vehicle from rotting out underneath your feet. The precarious nature of RV seals and slide out seals is that they live on a knife's edge while working and that can mean the difference between a stable and operating RV and one that is in the shop costing you thousands of dollars in repair.
Other parts of your RV operate differently from your seals. If you get a small chip in your RV wall, while a concern, it doesn't mean the end of the world. Unfortunately, this is not the case with your seals. What makes their nature so dangerous is that one tear, one pinhole, or one break can allow water and other elements in, that can (and eventually will), tear apart your RV's structure and systems. One small crack in the barrier is either a slow (or very quick) descent into a deteriorating RV.
Understanding that RV seals can break down without your rig even being on the road is the first step in prevention. So, what now? You need to practice seal upkeep. We have steps that will help you maintain your RV seals, and conversely, your vehicle. Here is a step-by-step procedure list that will teach you how to inspect your seals:
GETTING STARTED:
1. Do seal inspections regularly. Make a checklist of every seal that is attached to a door or window that opens and closes. This may seem like overkill but an ounce of preparedness kills a pound of headaches.
2. Your RV seals should be checked every six months when you shutter your RV or pull it out of storage for the season. Make sure you note the date on your checklist every time you do an inspection.
3. Danger signs you should be looking for on your seals: fading/discoloration, pinholes, cracks, breaks, crazing (surface cracking), tears, splits, feathering, and separation of the seal backing from the wall of the vehicle. Any of these items on this list, if you find them, are the beginning of the end for your RV seal. They may seem small at first but will grow over time. Minor problems can turn into catastrophic failures later if you don't take proper precautions.
4. Now that you know how often to look, and what to look for, make sure you have the right tools for the job. A bright flashlight, gloves (seals are generally dirty), safety glasses, a magnifier, masking tape, and a few old shop rags are all you'll need for your inspection*.
THE INSPECTION:
Now that you know what to look for, and you have the proper tools in hand, it's time to inspect your seals. The first thing you want to do is get your RV, trailer, fifth-wheel, or other vehicles that you're examining into a well-lit (and well-ventilated) area. Even though you have a flashlight for closer inspection, working in a well-lit area is always best when looking for imperfections on any part of your vehicle. Once you're in place, and your vehicle has been chocked, turned off, and the emergency brake is on, you're ready to start:
A. Only inspect one opening at a time. Make sure that you lock open (or tie back) any open door or window. There is the chance that it could close on you while you are running your inspection.
B. Slowly go over the seal with your shop rag (over the entire seal) and give it a soft wipe down. The reason you will do this is to reveal any cracks or other damaged areas that might be clogged by dirt.
C. Pick a starting point and put a tiny piece of masking tape on the seal where you intend to begin the visual inspection. That way, you're not unsure of where your stop/start position was once finished with the investigation. At the end of the process, make sure to remove the tape.
D. Once you've wiped down the RV seal, it's time to inspect the seal visually — at least 2 seconds of viewing time per every 1 ft. of the seal. If you have questions about any spot, use the flashlight and magnifier to get a closer look. If you have to, press on the area in question to reveal any holes or tears that may not present themselves during the visual inspection.
E. Make a note on your checklist of every occurrence along your seal. One is too many, but you need to know where your problem areas are for future applications.
TREATMENT, CARE, AND REPLACEMENT:
Now that you've given your RV seal a thorough inspection, you need to proceed in one of two ways after answering this question: Does my seal have any of the problems listed above?
1. Yes: Depending on the condition of the seal with the issues, you may not need to find a replacement. But, if you have even one problem, it's best to replace the seal as soon as possible.
2. No: If you find that your seals are in good condition, then preventative maintenance is required. For this, you will need a few clean shop rags, multi-purpose cleaner, and a rubber seal treatment. RecPro has a seal and gasket treatment available for this process.
Spray the all-purpose cleaner all around the opening where the RV seal is seated. Use one of the rags to wipe down the seal on all sides thoroughly. Make sure you remove all dirt, dust, and road grime from the seal's surface before you treat the material. Once it is clean, take the other clean shop rag, spray it with the seal treatment** (unless you have a treatment with an applicator top/tip), and then carefully wipe down the entire seal on all sides.
We recommend doing this at least two times. The procedure will not only seal the rubber, but it will keep it supple and in shape so that it properly seals off the interior of the vehicle.
**ATTENTION** If you have a fur-lined strip along the edge of your seal, do NOT use the rubber sealant on this area. Use an upholstery cleaner to clean off the fur/fabric section, and then a fabric protectant to seal the strip.
Do this to every seal on your vehicle, and they should keep for years to come.
RV SEALS: THE FACTS
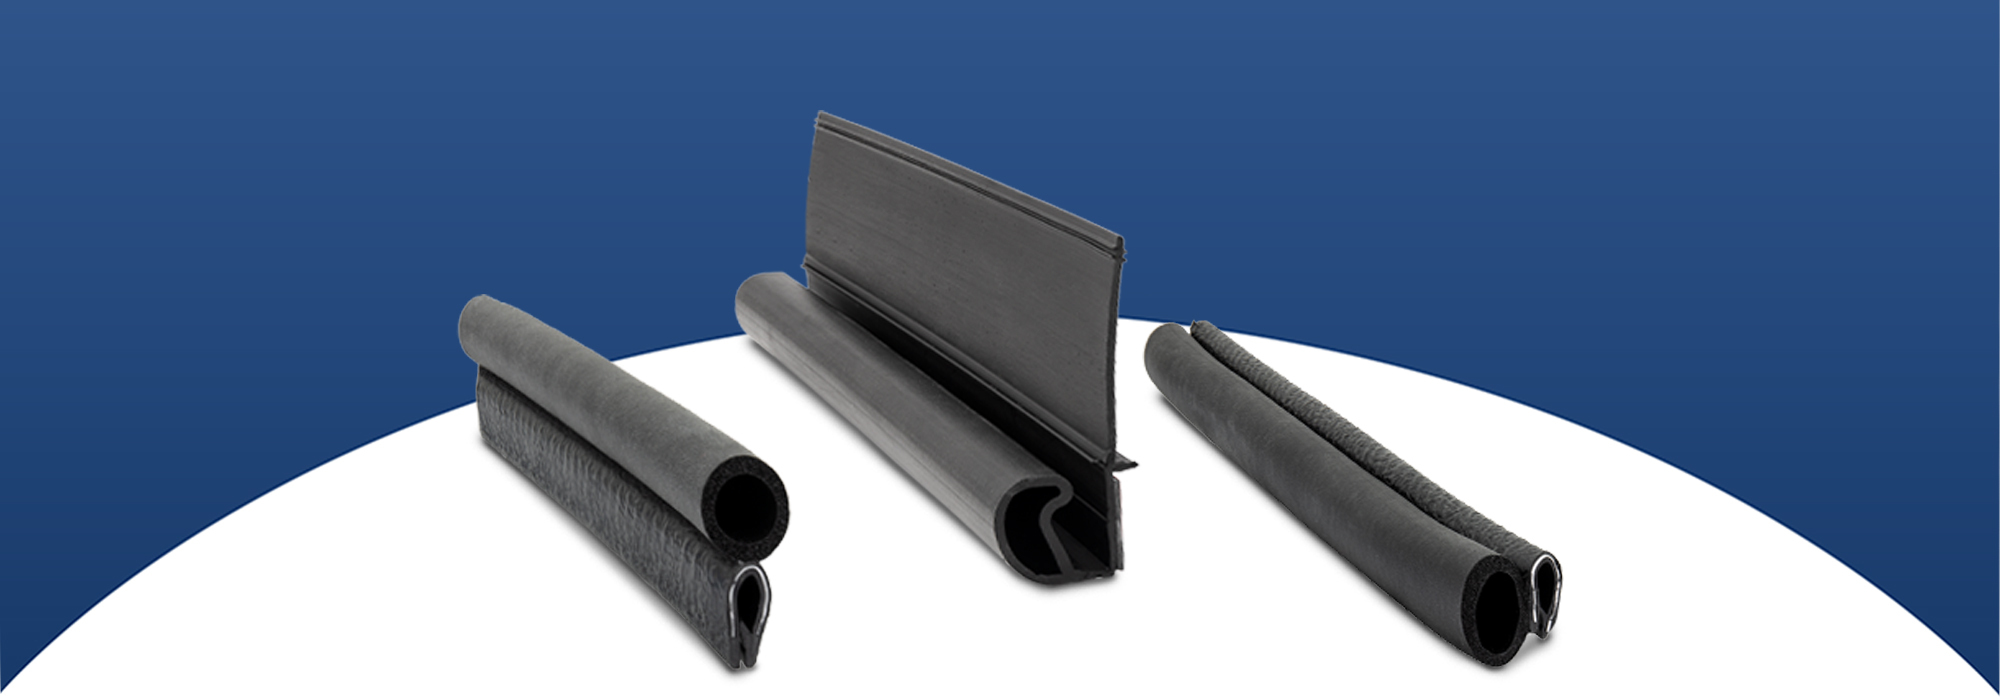
As many RVs as there are on the road, there are exponentially more doors and windows in all of those RVs. This means that while some common seals work almost universally ("D" bulb), there is a multitude of other RV seals that are needed to help keep those RVs healthy, on the road, and out of the shop. Some of the more common types are:
- "D" bulb
- Wiper Seals
- Ribbed "D" seal
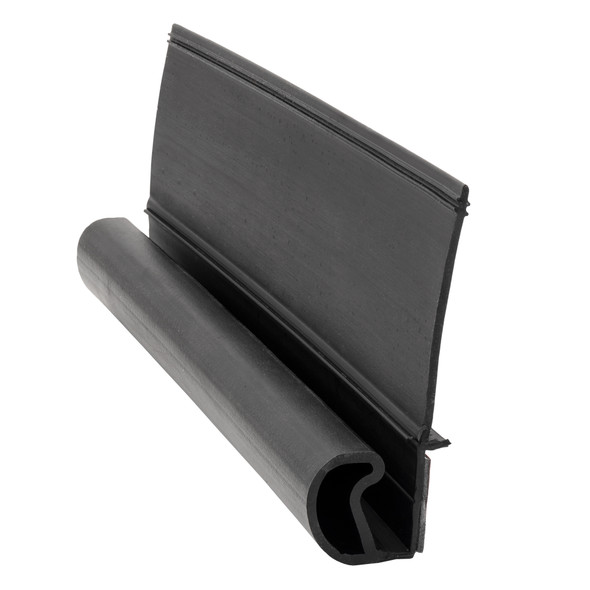
- Slide out seal
- Ribbed stock seal
There are many other RV seals out there, but these are the most common models used in the manufacturing of RVs, trailers, fifth-wheels, concession stands, and home applications. While the proper shaped seal is a significant consideration for installation, what your RV seals are made out of is just as important.
One design property to note is whether the RV seal has open or closed cells. While both have their merit, you want to (primarily) have closed cells in your seals. Why? Because a closed-cell construction avoids air pockets, is better at keeping water out, and will have an overall better bounce back over the life of the seal.
INSTALLATION:
As convenient as our RV seals are to install, there are some preparations you'll want to make before you work. If you don't take the time to perform these few steps, you'll be inviting the outside in before you even get started. Here are a few treatments before you begin:
1. Make sure if this is a new installation that you thoroughly clean and dry the area where you are applying the seal. If the surface you are applying the seal to is in any way wet or unclean you could have a lousy adhesion and that will lead to leaks almost immediately.
2. If this is a replacement project, you must clean the area thoroughly and make sure that all glue or other residue is removed from the surface where the seal is being applied. Again, if the surface you are adhering the strip to is in any way wet, dirty, or has any obstructive material, your seal will not stick properly and you will have leaks almost immediately.
3. Once cleaned (and dry), take the seal and peel off a short piece of the backing paper (leaving it attached if possible). Apply the seal to the area where the door/window/awning/etc. contacts with the exterior. Slowly and carefully, trace along the channel (or line) where the RV seal is supposed to be placed and push down the adhesive side to the surface, 1 to 2 inches at a time.
Doing more than this can cause the seal to get twisted or go outside of the placement area. The adhesive is a very high bond, so it will stick tightly once it is placed. If you misapply the seal, you may have to replace an entire section as well as treat the surface again by cleaning it and removing any adhesive residue that is present.
4. Make sure that if there is a drip channel, you start and end your seal at an entry point on that drip channel.
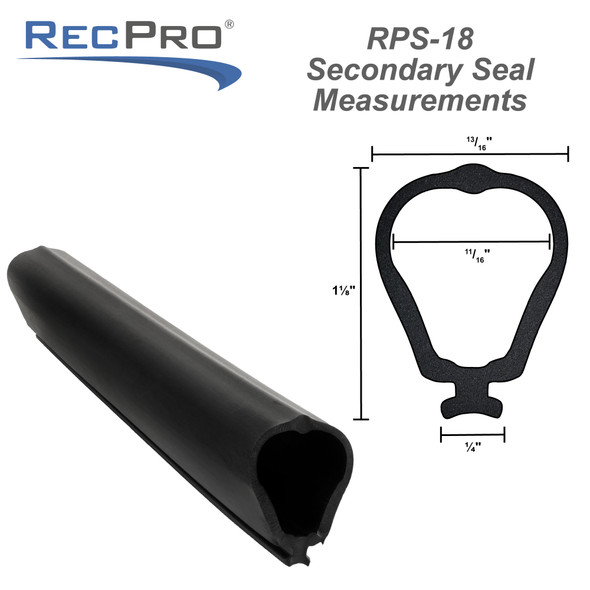
5. Make sure that if there is a primary and secondary seal, you replace both at the same time. This way you know that you have the same replacement date on both (which you should make sure to note on your checklist).
RV seals are an essential part of your vehicle. If you consider what they do for your RV ((control sound, insects, temperatures, water, etc.), then you know how valuable they are. If you haven't inspected or replaced your seals in some time, why not start with an inspection and then some solid seals from RecPro? For a small price, you can buy some significant peace of mind as you travel down the road.
**DO NOT SPRAY THE TREATMENT DIRECTLY ONTO THE SEAL**
 $25.95
 $5.95
$5.95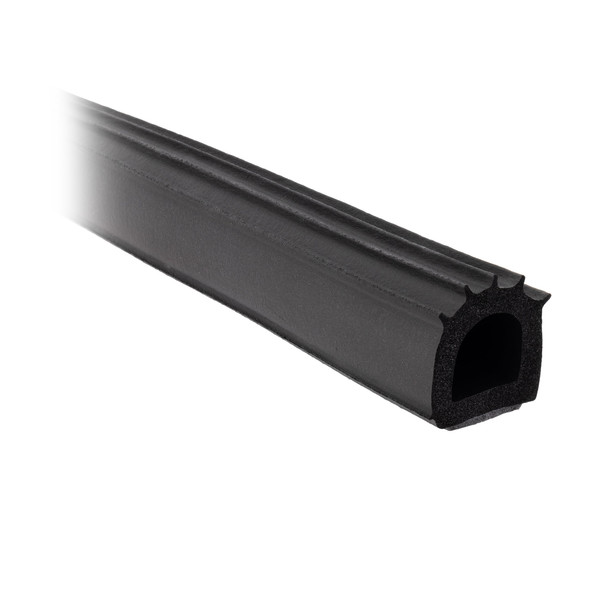
 $5.95
$5.95
 $5.95
$5.95
 $35.95
 $20.95
 $22.95
 $15.95
 $27.95
 $20.95
 $35.95
 $27.95
 $27.95
 $41.95
 $17.95
 $17.95
 $17.95
